Last updated October 9, 2026
Home Addition Contractor Maintenance Schedule: What to Do and When
The roof flashing where your new addition meets your existing roofline is statistically the highest-risk water intrusion point on your entire house for the first five years after construction, and most homeowners in Los Angeles have never been told to inspect it twice a year. That single seam, where old structure meets new, is where we see the majority of post-construction failures: lifted flashing from Santa Ana wind cycles, dried-out sealant from relentless UV exposure, and slow leaks that quietly rot sheathing for two or three rainy seasons before anyone notices the ceiling stain. This guide gives you a maintenance schedule built specifically for home additions, not the generic “change your air filter” advice that ignores how a new roofline, new exterior walls, and new electrical loads change what you need to track. Here is what to do, when to do it, and what it should realistically cost in the Los Angeles market.
Quick Answer
A home addition requires a maintenance schedule that prioritizes the transition points between new and existing structure: inspect roof flashing and foundation joints twice a year, test GFCI outlets in new wet areas quarterly, review the new subpanel annually, and budget roughly $1,800 to $3,200 total over the first five years for a typical 400 square foot addition in Los Angeles. The first year after construction is the highest-risk period because materials are still settling, sealants are curing, and any installation defect will reveal itself under the first full cycle of LA rain and heat.
Table of Contents
- Year One: The Critical First 12 Months After Construction
- Roof Flashing and Water Intrusion: Your Twice-Yearly Inspection
- Exterior Cladding: James Hardie Siding Inspection and Repaint Intervals
- Addition-Specific Electrical Maintenance: Subpanels, GFCI, and Circuit Loads
- Foundation Joints, Settling Cracks, and What Is Actually Normal
- How the Los Angeles Climate Changes Your Maintenance Calendar
- Five-Year Maintenance Cost Estimate for a 400 Square Foot Addition
- Common Mistakes to Avoid
- When to Call a Professional
- Frequently Asked Questions
- The Bottom Line
Year One: The Critical First 12 Months After Construction
The first year is when your addition does most of its settling, and that settling is not a defect; it is physics. New lumber loses moisture and shrinks. Fresh concrete cures and contracts. Caulk and sealant reach their final cured state. In Los Angeles, where summer daytime temperatures routinely exceed 90 degrees and winter nights can dip into the 40s, materials expand and contract through a wider thermal range than they would in a moderate coastal climate, which means your addition will move more in year one than an identical structure would in, say, Portland or Seattle.
Here is the year-one checklist we recommend to every homeowner after the final inspection passes:
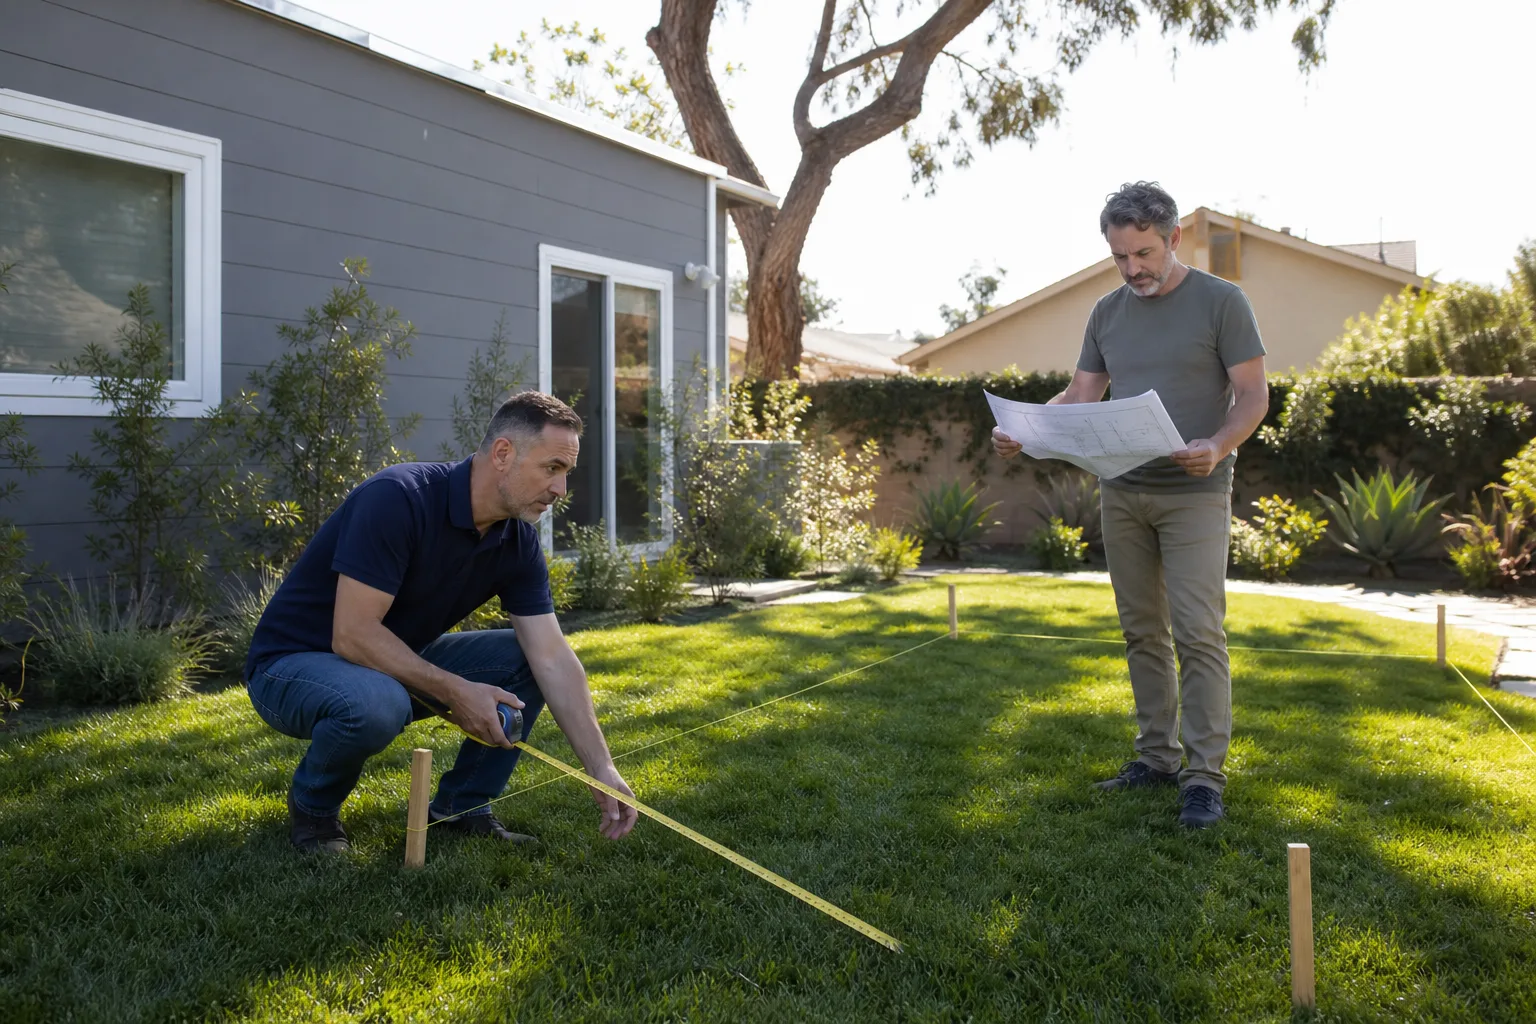
- Month 1: Walk the entire addition perimeter and photograph every seam: where siding meets roof, where addition wall meets existing house wall, where concrete patio or walkway meets the foundation. These photos become your baseline reference for everything that follows.
- Month 3: Inspect all interior drywall corners where new walls meet existing ceilings and where walls change plane. Hairline cracks under 1/16 inch are normal settling; document them with your phone camera and a ruler for scale.
- Month 6: Test every GFCI outlet in the new space using the built-in TEST and RESET buttons. Test smoke and carbon monoxide detectors. Check attic access if your addition has attic space, looking for any daylight peeking through roof penetrations.
- Month 9: Re-inspect the roof flashing at the new-to-old roofline junction, ideally after the first significant rain. Look for lifted flashing edges, cracked sealant, or debris accumulation at the transition point.
- Month 12: Full baseline inspection: roof, flashing, siding joints, caulk lines around windows and doors, foundation perimeter, interior cracks, electrical panel, and any crawlspace or attic space. Compare against your month-one photos. Schedule any fixes needed while you are still inside the builder’s workmanship window.
One year is also when we tell owners to review their contractor’s warranty terms carefully. At Benson ADU Builders, every project carries our 365-Day Done Right Promise, which means if anything is not right within that first full year, we make it right, backed by a written guarantee stamped on the project. A lot of construction defects show up between month 9 and month 12, after one full seasonal cycle, which is exactly why that window matters. For a deeper look at what good construction looks like from day one, see our Benson ADU Builders home page, where we lay out how the build process works from written price to final walkthrough.
Roof Flashing and Water Intrusion: Your Twice-Yearly Inspection
The single most important maintenance habit for an addition is a twice-yearly roof flashing inspection, once in October before the Los Angeles rainy season starts and once in April after it ends. Flashing is the metal material (usually galvanized steel, aluminum, or copper) that bridges the gap where your new roof meets your original roof, where the addition roof meets vertical walls, and around any chimney, vent pipe, roof valley, or skylight. When flashing fails, water does not pour in dramatically; it wicks in slowly, runs along a rafter, and soaks insulation and drywall for months before you see any sign from inside.
During each inspection, look for:
- Lifted or curled flashing edges, especially along the new-to-existing roofline junction
- Cracked, peeling, or separated sealant at flashing terminations
- Rust or corrosion spots on exposed metal flashing
- Debris dams: leaves and twigs accumulating at the transition point where your addition roof meets a taller existing wall
- Displaced or missing step flashing shingles where the addition roof intersects the original house wall
- Evidence of water staining on the underside of roof sheathing if you have accessible attic space
In our experience building Los Angeles home additions, the flashing failure we see most often is not from bad installation. It is from Santa Ana winds working a piece of flashing loose over two or three seasons, or from a homeowner’s gardener or solar panel installer stepping on the transition point and bending the metal without realizing it. The fix early is usually simple: a few new fasteners and a fresh bead of exterior-grade polyurethane sealant, typically $150 to $400 from a handyman or roofing tech. The fix late, after water has been getting in for a full winter, is a $2,000 to $6,000 remediation with drywall, insulation, and possibly sheathing replacement. Twice a year costs you less than an hour of your time. If you are planning an addition and want to understand how the roofline gets designed in the first place, our Home Addition Contractor in Los Angeles page explains the structural choices that affect long-term water performance.
Exterior Cladding: James Hardie Siding Inspection and Repaint Intervals
If your Los Angeles addition is clad in James Hardie fiber cement siding, you are working with one of the most durable cladding products on the market, but “durable” does not mean “zero maintenance.” James Hardie’s own published guidance, backed by their product warranty documentation, is that the factory-applied ColorPlus finish should be inspected annually and will typically need repainting on a 15-year cycle under normal sun exposure. In Los Angeles, where the south-facing and west-facing walls of an addition take direct UV for six to eight hours a day during the summer, we tell owners to expect that repaint interval to compress to 10 to 12 years on those sun-facing elevations.
The inspection routine for fiber cement siding is straightforward:
- Every spring: Walk each elevation of the addition and look for chalking (a powdery white residue that comes off on your hand when you rub the finish), fading that is noticeably uneven from wall to wall, or any area where the color finish has worn through to the raw gray substrate.
- Check joints: Look at every butt joint between siding boards and every caulked seam around windows, doors, and corners. Caulk in Los Angeles takes a beating from UV and dry heat; plan on re-caulking exterior joints every 5 to 7 years regardless of siding type.
- Look for impact damage: Fiber cement is tough but not indestructible. Lawn mower stones, errant ladder feet, and the occasional baseball can chip or crack a board. A cracked board should be replaced promptly, not caulked over; water gets behind the siding and sits against the wall sheathing.
- Check the bottom edge: The bottom row of siding should sit at least 6 inches above grade in Los Angeles to keep splashback moisture and soil contact from wicking up into the board. If a landscape project has raised the soil level against the addition wall, that is a drainage problem waiting to happen.
Repainting James Hardie siding on a 400 square foot addition in Los Angeles will run roughly $1,500 to $2,800 depending on how much prep work the surface needs and how accessible the walls are. The good news: because the ColorPlus finish is factory applied, the first repaint is often a recoat rather than a strip-to-bare project, which keeps labor costs down. When we build additions with James Hardie cladding, we walk owners through the expected finish lifecycle before construction starts, because a maintenance plan you know about in advance is a cost you can actually budget for. For homeowners comparing cladding options on a new build or addition, the material choices we discuss on our ADU Builders in Los Angeles page include why we recommend fiber cement for most LA sun exposures.
Addition-Specific Electrical Maintenance: Subpanels, GFCI, and Circuit Loads
Your new addition changed your house’s electrical profile, and most homeowners never think about the new subpanel in the garage or the new circuits in the bedroom until something trips. Before hiring, read our Home Addition Contractor Warning Signs Every Homeowner Should Know to avoid common pitfalls. Electrical maintenance for an addition is less about what you do weekly and more about establishing the right inspection cadence and knowing what a warning sign looks like.
Subpanel inspection: once per year. If your addition was built with a dedicated subpanel (common on larger additions and almost universal on ADUs), open the panel door once a year and check three things. First, listen for any buzzing or crackling sound; a healthy panel is silent. Second, look at the breaker faces for any discoloration, melted plastic edges, or a burning smell; any of those means stop using that circuit and call an electrician. Third, tug gently on each breaker to confirm it is seated firmly; a loose breaker arcs internally and generates heat. Do not remove the panel cover yourself if you are not comfortable working around live electrical components, a licensed electrician can do this inspection in about 30 minutes for $75 to $150 in Los Angeles, and it is worth doing annually on an addition with a new subpanel.
GFCI testing: quarterly. Building code requires GFCI (ground fault circuit interrupter) protection on all outlets in wet areas: bathrooms, kitchens, laundry spaces, and any exterior outlet. GFCI outlets have built-in TEST and RESET buttons, and testing them takes 30 seconds per outlet. Press TEST, the outlet should click and lose power. Press RESET, power returns. If the outlet does not trip, does not reset, or trips intermittently during normal use, the GFCI is failing and needs replacement, which is a $15 to $40 outlet plus an electrician’s service call. We recommend putting a quarterly reminder on your phone: the first weekend of January, April, July, and October.
Circuit load review: once per year, or whenever you add a major appliance. A home addition typically adds a bedroom, bathroom, or workspace, each with its own lighting and receptacle circuits. The problem comes when a new home office shares a circuit with, say, a window AC unit and a space heater that were not part of the original load calculation. If you notice breakers tripping more than once in a season, or lights dimming noticeably when you plug in a high-draw appliance, that is a circuit that is overloaded and should be reviewed. The fix might be as simple as redistributing which outlets serve which loads, or it might require running a new home run from the panel, typically $300 to $700 depending on run length and accessibility. Leaving an overloaded circuit in regular service is how electrical fires start.
Foundation Joints, Settling Cracks, and What Is Actually Normal
Every new addition settles. The question is not whether cracks will appear; it is which cracks are cosmetic and which cracks are structural. In Los Angeles, where much of the residential soil is expansive clay that heaves when it gets wet and shrinks when it dries out, foundation movement is a fact of life. The December-through-March rain concentration in Los Angeles means your addition’s foundation will experience its most significant moisture cycle every winter, and that is when settlement cracks tend to appear or widen.
Here is how we tell homeowners to evaluate any crack they find:
- Hairline drywall cracks (under 1/16 inch) at corners, at the seam where the new ceiling meets the original wall, and around door and window frame edges: normal. Document and monitor. These typically appear in the first 12 to 18 months as the new framing dries and settles.
- Cracks that appear at the joint between the addition foundation and the original foundation: expected to some degree. The two foundations were poured at different times and will never move completely in unison. A hairline separation that stays stable is cosmetic. A gap that visibly opens and closes with the seasons, or that widens beyond 1/8 inch, warrants a foundation specialist’s evaluation.
- Stair-step cracks in the exterior stucco or siding that follow the mortar joints in a diagonal pattern: potential structural concern. These indicate differential settling that is putting stress on the wall assembly, not just the finish surface. Get a foundation inspection.
- Horizontal cracks in a foundation wall or stem wall: the most serious type. Horizontal cracking suggests lateral pressure from expansive soil or inadequate reinforcement. Do not wait on this one.
The foundation inspection cadence we recommend for additions is simple: walk the perimeter every spring and every fall, look for new cracks or widening existing ones, and photograph anything you find so you have a dated record. Most foundation issues in Los Angeles additions are slow-moving and inexpensive to address if caught early, but expensive if ignored. And if you are still in the planning stages and want to understand how a foundation design minimizes these risks from day one, our Room Addition Contractor in Los Angeles page explains the engineering choices that matter for long-term stability.
How the Los Angeles Climate Changes Your Maintenance Calendar
A maintenance schedule written for a home addition in Chicago or Houston does not translate cleanly to Los Angeles. Our climate concentrates rain into a small window, punishes exterior materials with UV for the other nine months, and throws in periodic dry wind events that do their own kind of damage. Here is how each Los Angeles climate factor changes your addition maintenance calendar:
December-through-March rain concentration: Los Angeles gets roughly 85 percent of its annual rainfall between December and March, often in a handful of intense storm events rather than steady drizzle. For your addition, this means water intrusion testing happens during a short, high-intensity window. The time to check flashing, sealant, and drainage is in October, before the first big storm, and again immediately after the first significant rain, when leaks show themselves. Waiting until April means a leak has had four months to do damage.
UV intensity: Los Angeles averages more than 260 sunny days a year, and the UV index regularly hits 9+ from May through September. Paint on a south-facing addition wall in Los Angeles fades roughly twice as fast as the same paint on a north-facing wall. Caulk and sealant dry out, shrink, and crack on an accelerated schedule. Re-caulk exterior joints every 5 to 7 years, and re-inspect any south-facing or west-facing sealant annually.
Santa Ana wind cycles: The dry, gusty winds that blow through Los Angeles in the fall and winter carry dust, strip moisture from exterior materials, and can work loose any flashing, siding, or roofing component that is not fully secure. After any significant Santa Ana event, walk the perimeter of the addition and look for lifted flashing edges, displaced roof tiles, or siding that has shifted. A loose piece of flashing after a Santa Ana becomes a water entry point during the very next rainstorm.
Dry-season dust accumulation: Los Angeles air carries fine dust that settles on exterior surfaces and accumulates in roof valleys, gutters, and at the base of exterior walls. That dust holds moisture against surfaces when the rains do arrive, accelerating corrosion and finish degradation. A simple rinse-down of the addition’s exterior walls and roof valleys each October, before the rains, is genuinely useful preventative maintenance.
Five-Year Maintenance Cost Estimate for a 400 Square Foot Addition
Homeowners budget for construction, but almost nobody budgets for the maintenance that comes after. Here is a realistic five-year maintenance cost range for a typical 400 square foot addition in Los Angeles, assuming the addition was built to current code with quality materials from the start. These are Los Angeles market rates from 2025, and your actual costs will shift with inflation and the specific condition of your project.
| Year | Maintenance Task | Typical Cost Range (Los Angeles) |
|---|---|---|
| Year 1 | Baseline inspections, minor caulk touch-ups, GFCI testing | $100 – $300 |
| Year 1 | Addressing builder warranty items (should be $0 if covered) | $0 – $500 |
| Year 2 | Recaulk exterior window and door joints, first roof flashing check after full rain cycle | $300 – $800 |
| Year 3 | Subpanel inspection, potential minor electrical fixes (receptacle replacement, GFCI swap) | $150 – $400 |
| Year 4 | Touch-up paint on sun-facing elevations, gutter cleaning and minor drainage correction | $250 – $700 |
| Year 5 | Full exterior inspection, re-caulking, possible flashing repair, HVAC or mini-split service if applicable | $400 – $1,200 |
Total five-year range: $1,200 to $3,900, with a realistic middle ground of $1,800 to $2,800 for an addition that was built well and maintained consistently. The biggest variable is flashing repair: if a flashing seam fails and water gets in before you catch it, the remediation cost can easily hit $3,000 to $6,000 on its own. That single line item is why the twice-yearly flashing inspection matters more than any other habit on this list.
For context on what a well-built addition costs on the front end in Los Angeles, which directly affects what your maintenance costs will look like later, a 400 square foot addition typically falls between $250 and $400 per square foot depending on finish level and site conditions. We publish written pricing before work starts on every project we take on, which means owners know their construction cost and can plan their maintenance budget from a place of certainty, not guesswork.
Common Mistakes to Avoid
- Skipping the October pre-rain inspection. In Los Angeles, the rains come in a rush, and the damage window is short but intense. The flashing check you skip in October is the leak you discover in February, after the water has been inside the wall for six weeks.
- Ignoring hairline cracks because they seem small. A drywall crack that stays at hairline width is cosmetic, but the same crack that widens from 1/32 inch to 1/8 inch over two seasons is telling you something real about foundation movement. Document and compare.
- Painting over fiber cement siding damage instead of replacing the board. A cracked or chipped James Hardie board needs replacement, not paint. Paint seals the surface but leaves the structural crack open, and water will find its way behind the siding.
- Treating the new addition’s electrical system as “set and forget.” The subpanel in your garage is not maintenance-free. An annual visual and thermal check catches loose breakers and hot connections before they become an emergency call.
- Waiting until a leak is visible inside the house to investigate. In Los Angeles additions, the first visible sign of a flashing failure is often a ceiling stain that appears six to eighteen months after the water started intruding. Exterior inspection is the early warning system; interior stains are the late-stage symptom.
- Assuming your addition’s warranty covers everything forever. Workmanship warranties have limits and time frames, and product warranties have specific maintenance requirements. Read what you signed, and document your maintenance so any warranty claim is supportable.
- Skipping the annual exterior walk because “everything looks fine from the street.” The problems that matter are at the roofline transition, at the foundation joint, and around the back corner facing the sun, none of which are visible from the curb.
When to Call a Professional
Some maintenance tasks are do-it-yourself, and some are not. You can test a GFCI outlet, photograph a crack, and rinse down your exterior walls. You should call a professional when you see lifted or corroded flashing at the roofline transition, when a crack is wider than 1/8 inch or growing between inspections, when breakers are tripping repeatedly, or when you find water staining anywhere on an interior ceiling or wall. Roof work is dangerous (falls are the leading cause of construction fatalities), and electrical work near a live panel is not a learning-on-the-job situation. If you are in the Los Angeles area and you are not sure whether something you found is normal or needs attention, Benson ADU Builders offers free estimates and honest assessments; call (903) 568-7222 and a real person will answer, day or night, every day of the year.
Frequently Asked Questions
Annual maintenance on a 400 square foot home addition in Los Angeles typically runs $150 to $800 per year, with the heavy-cost years driven by re-caulking cycles, paint touch-ups on sun-facing elevations, and any flashing repairs. Most years are closer to the low end if the addition was built well, and the single most expensive preventable item is a flashing failure that goes undetected. Call (903) 568-7222 for a free maintenance assessment if you are unsure where your addition stands.
Inspect your addition’s roof flashing twice a year in Los Angeles: once in October before the rainy season starts and once in April after it ends. After any major Santa Ana wind event, do a quick visual check for lifted edges as well, since high winds can work flashing loose.
The most common maintenance problem we see on Los Angeles home additions is water intrusion at the flashing point where the new roof meets the existing roofline. This transition point is vulnerable to UV-damaged sealant, Santa Ana wind lift, and debris accumulation, and it is the single highest-risk area for the first five years after construction.
James Hardie fiber cement siding with the factory ColorPlus finish should be inspected annually and typically needs repainting every 10 to 15 years depending on sun exposure. On south-facing and west-facing walls in Los Angeles, expect that interval to compress to 10 to 12 years due to UV intensity.
Hairline cracks under 1/16 inch at drywall corners, ceiling seams, and around door and window frames are normal in the first 12 to 18 months as the new framing dries and settles. Cracks wider than 1/8 inch, stair-step cracks in exterior walls, or horizontal foundation cracks are not normal and warrant a professional evaluation.
The maintenance schedule for a detached ADU is similar in principle to a home addition, but with some added items: the standalone structure has four exposed exterior walls instead of sharing a wall with the main house, a separate roof that needs its own flashing inspection, and usually its own electrical panel and possibly its own water heater or mini-split system. ADUs built by our team follow the same inspection cadence, with extra attention to the fully exposed roofline and the utility connections running back to the main house.
The Bottom Line
A home addition changes your house’s maintenance profile in ways most homeowners are never briefed on. The transition points between new and existing structure, the roofline flashings, the foundation joints, the new subpanel, the sun-exposed siding, are where failures actually happen, and they all have predictable inspection schedules. Twice-yearly flashing checks, quarterly GFCI tests, annual subpanel reviews, and a documented crack watch will prevent the overwhelming majority of expensive repairs, and a realistic five-year maintenance budget of $1,800 to $3,200 means you will not be surprised when the first recaulk or repaint comes due. If your addition came from Benson ADU Builders, you have our 365-Day Done Right Promise and a written guarantee on the project; if it came from another contractor and you are not sure what you are looking at, the free-estimate call costs you nothing and you can explore more guides & resources on our blog. buys you certainty.
Written by Troy Eastman, Owner at Benson ADU Builders, serving Los Angeles since 2006.